Who knew that after just over 3 months in the new home and we would have almost completed a full room transformation. You have seen the last DIY post that we started this whole dining room renovation with the painting job, but the big job was yet to be completed, the fireplace wall.
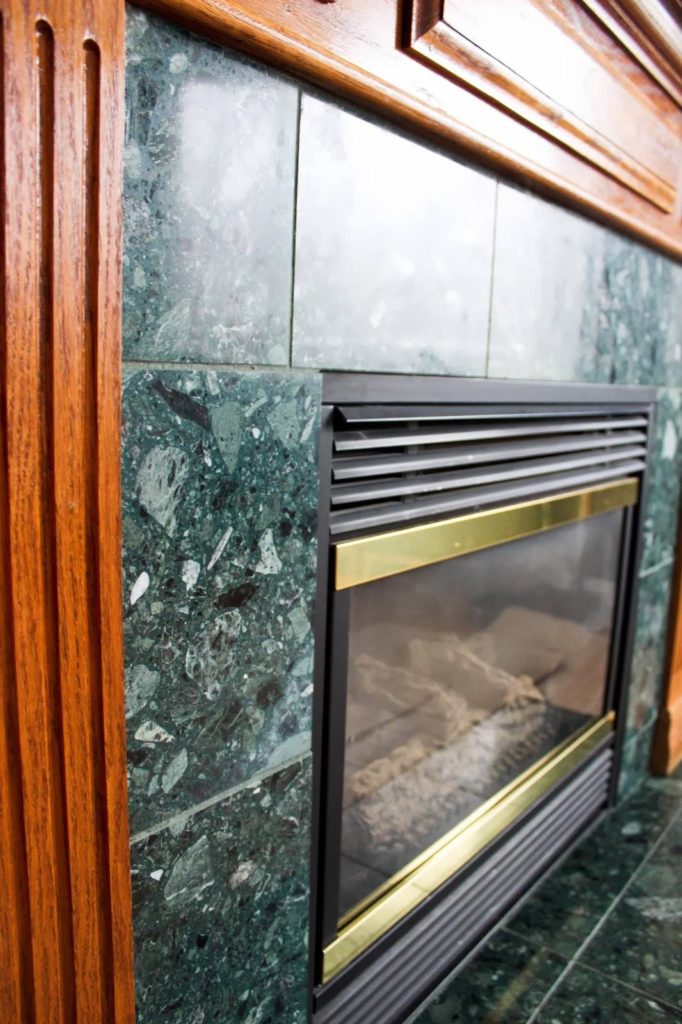
The photo below is the room when we first visit the house, before we decided it would be our new home (photo by seller’s photographer). The room was set as a family room and looks bigger in this photo that actually is, thanks to the wide camera lens. But anyway, once the house was ours, we planned to have the dining room here instead, as I probably mention before. The fireplace being close to the dining room table was not a problem for us and we even liked the idea. Only thing is that fireplace was dated and in need of a remodel.
We thought we could handle this small renovation, just a small area of tiles, painting and wallpapering, didn’t sound that complicated. Let me tell you, it was really not as complicated, as it was time consuming.
 |
| The before picture – dated fireplace – creamy walls, random furniture |
Here’s the first steps:
– We covered the floor around the fireplace to hold the scraps and dust. I did not do a good job on that or something else, because the dust spread out everywhere.
– We underestimated the heaviness and thickness of the existing green granite tiles. They were hard to take down.
– Always wear safety glasses and gloves for this type of work. (I got a lot of cuts, until I learned that.Thanks a lot! #not)
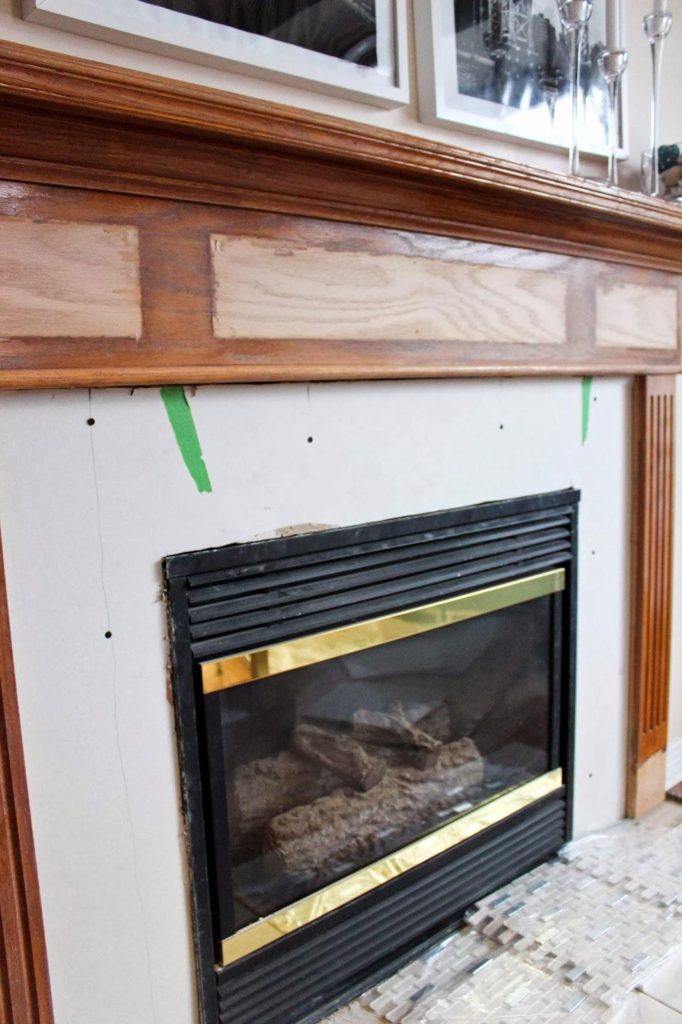
– We thought we could save the drywall behind the tiles after removal, but we just could not. It got damaged and needed to be replaced.
– I purchased a small piece of drywall at the home improvement store. That’s great, I thought they only sold full sheets, but they sell pieces, cut as per your measurements.
– I made the cuts to fit the new piece of drywall (fireplace hole) and it was not easy.
– I screwed the drywall on the fireplace framing and that was easy. #thumbsup
– This part I of the transformation did not hurt our wallets too much. We had to buy tools/materials, like chisels (very important and wrecking bar, drywall and drywall screws.
We were so involved in the process that we did not take as many photos as we would like it. There is also the fact that we were working in the project in shifts, between the demo and taking care of Alice. Yeah, being parents and a DIYers is a stressful and demanding combination.
Besides all the hard work, we were pleased to see that we were doing it.
 |
The fireplace beginnings – original…
We started covering the floor to hold the dust and scraps from tile removal. |
 |
| Bye green granite |
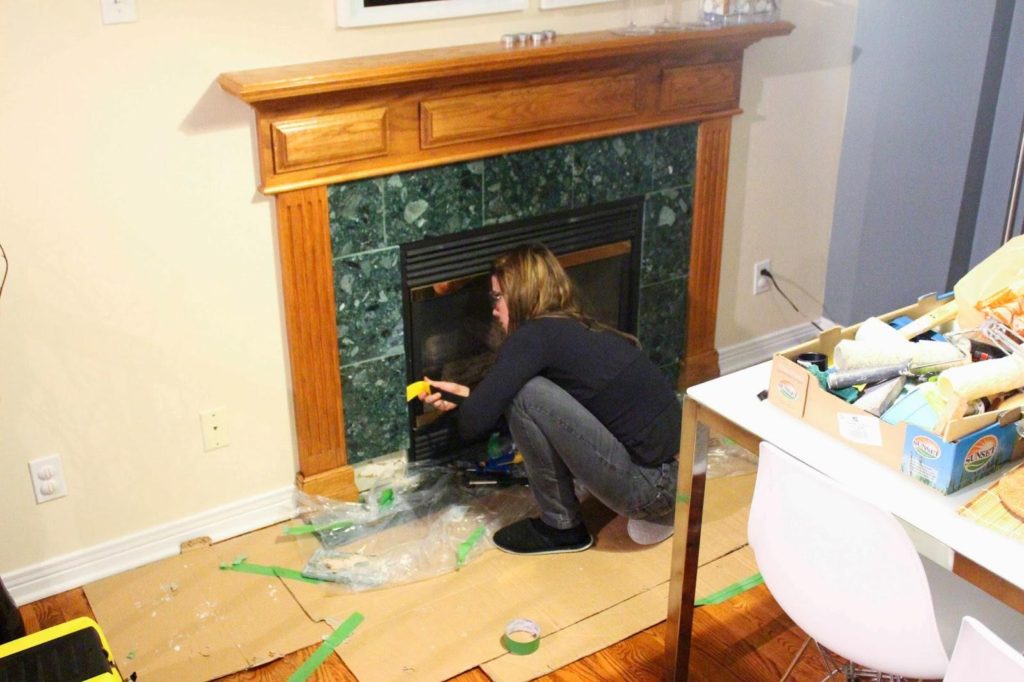 |
| That’s me attempting to remove tiles… |
 |
| As you can see, we did it. And the drywall was gone. |
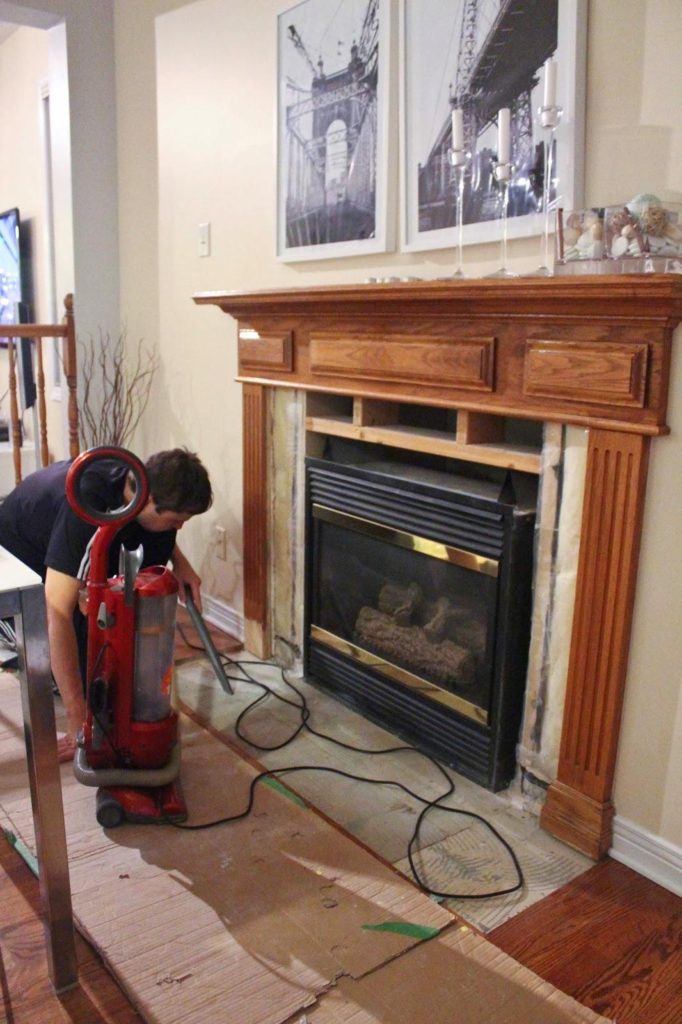 |
| Diego cleaning the space – very important |
 |
| Drywall back on – uhruu! |
What do you think so far? Next post, we will talk about the tiles, fireplace painting job and wallpaper, and of course, the final room transformation

One Comment
la vie est belle dans la belle province
great job!
I I don't have the **slightest** vocation for home-DIY
🙂