DIY – Dining room transformation – Part III
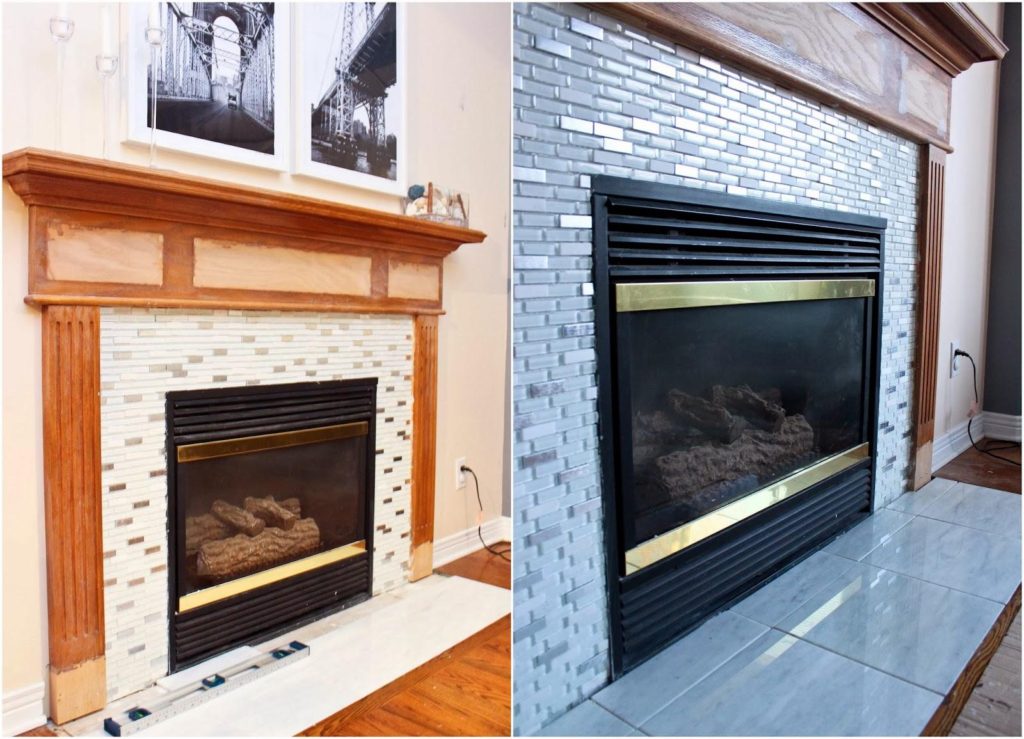
Once we replaced the damaged drywall on the fireplace (seen on previous post), the next in our dining room transformation project were the tiles and wooden mantle. I was constantly going to the home improvement store closest to home (a.k.a Home Depot, in this case) and checking the prices of mosaics and tiles to match what I was envisioning for the project.
Then Black Friday promotions arrived and I found a mosaic with 75% discount. Big savings, you're very welcome. It was not too far from what was planning for the overall fireplace look, so I managed to find a tile for the hearth to match and finally, be done with the tile shopping. The final selections were then a glass/marble/stainless steel mosaic (for wall) and a white marble tile (for floor).
I had to buy some mortar to set the tiles on the wall and floor, some grout (tip: use non-sanded grout for glass and stainless steel applications, it won't scratch the surface) and some tools. The biggest headache was the tile saw, required to make the cuts on the 12"x12" marble tile for the hearth (floor). The tile saw runs with water (to prevent overheating from friction) and I found a cheap one that, well, it did not do the job (it was all loose in the second cut). I decided then to return the saw at the store and rent a better one for a day, which was the best idea, since we did not want to invest in a good quality tile saw for now. For the mosaic, I managed to use just a hand cutter (with, of course, a lot of minor cuts to my hands, because of the glass in the mosaic…), only the marble pieces required the tile saw.
 |
| Mixing the mortar… |
 |
| Setting the marble tiles on the floor and grouting the wall |
 |
| Finalizing the cuts and with the tiles ready for grout |
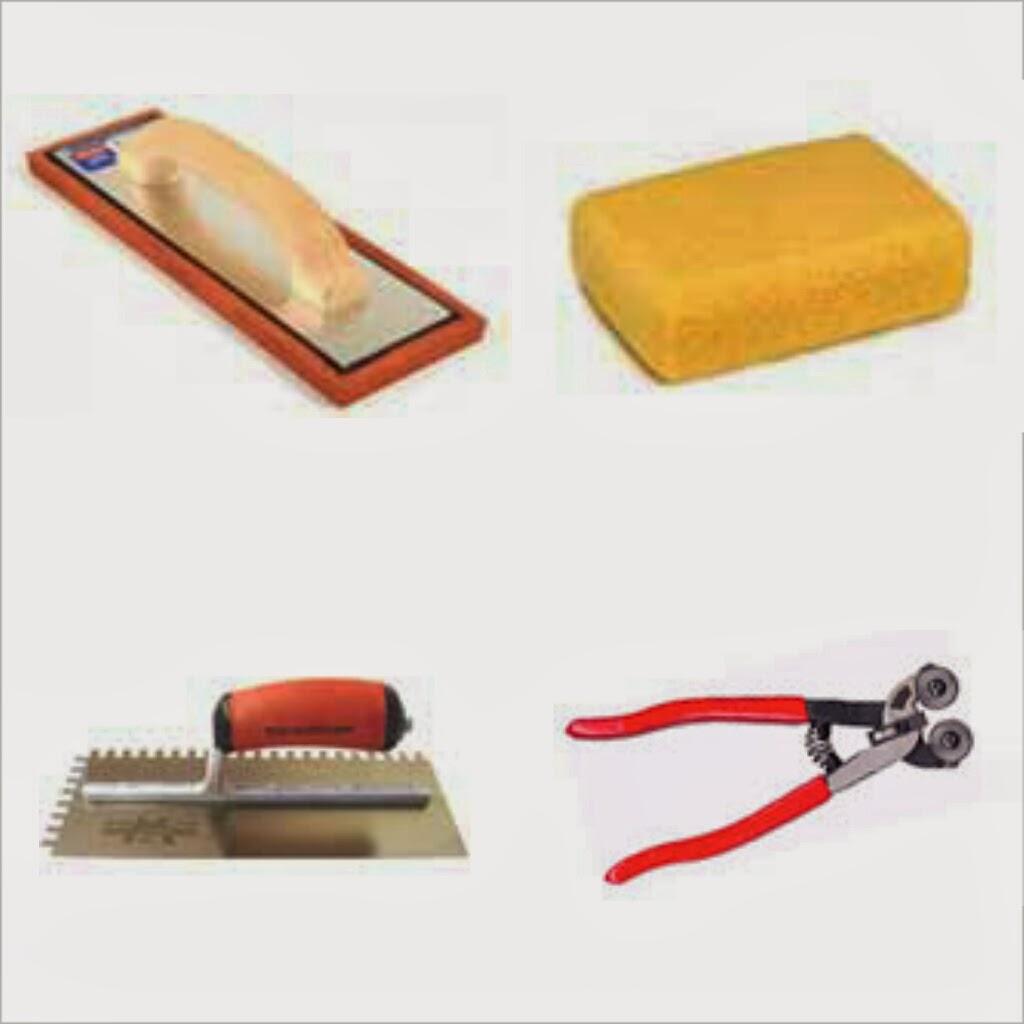 |
| The 1/8" trowel (for applying mortar) and the glass nipper (for cutting the glass mosaic tiles) – other tools we used |
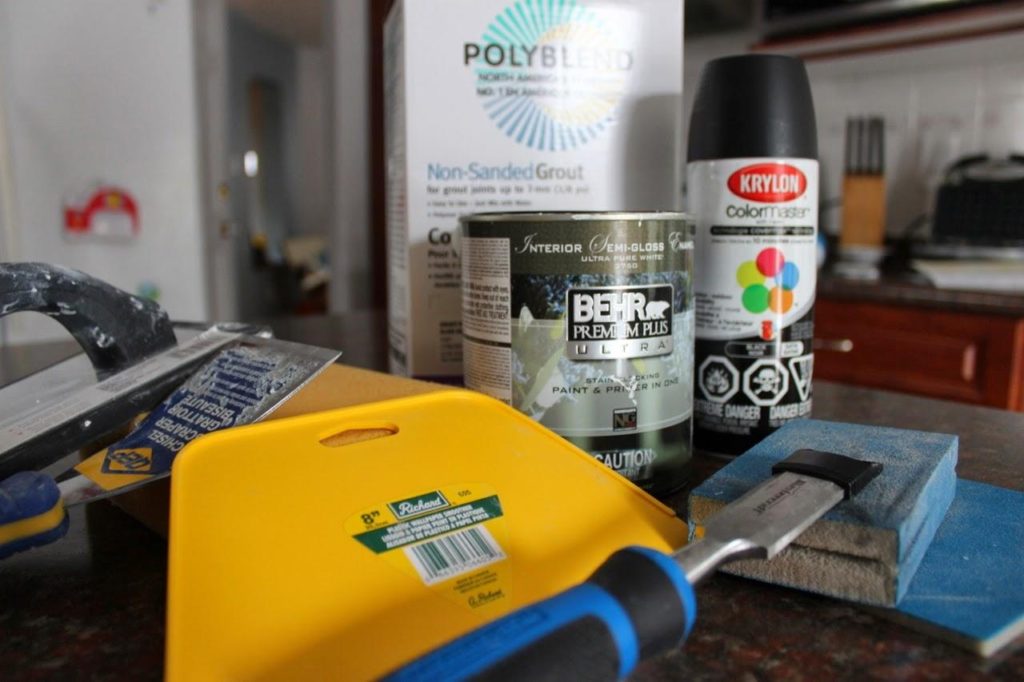 |
| A few tools we used for this project |
Next part was the grouting, fairly easy, but I didn't count for the amount of grout that a mosaic could take, so I had to prepare the grout mix multiple times. The essential tools I used for this stage were the rubber float and a grout sponge (the top ones on the image below…).
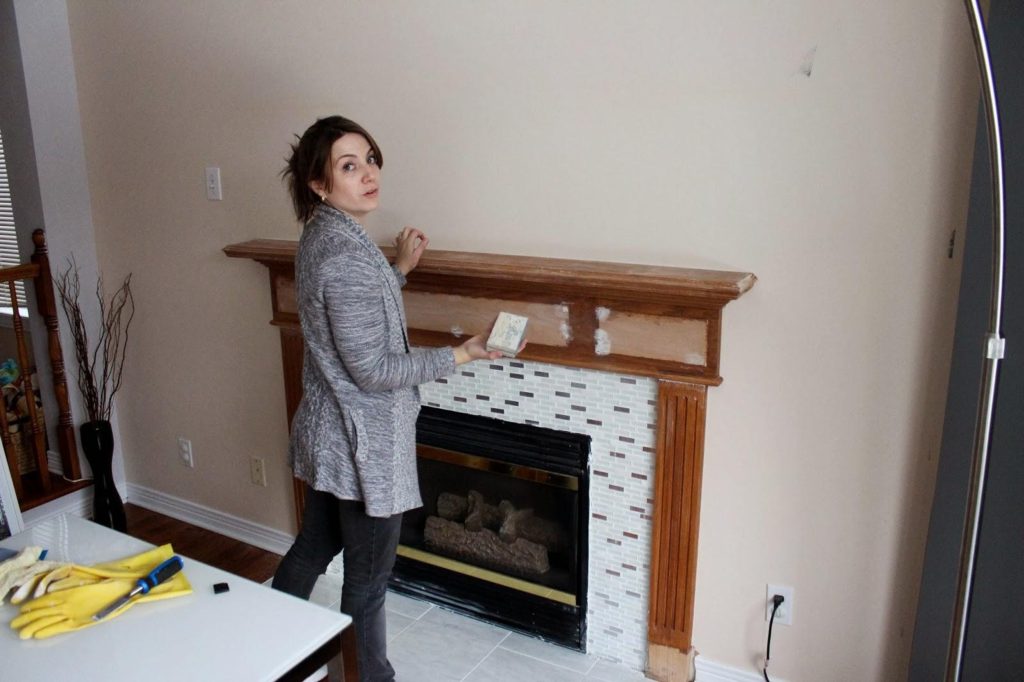
Now, we moved to the fireplace mantel, which we decided to keep. We only removed a few wooden details to make the overall look a little cleaner and decided to cover the wood with paint. For this process, we sanded and applied, o/, four coats of paint… Ffa.. it was a long process, but we liked the overall result.
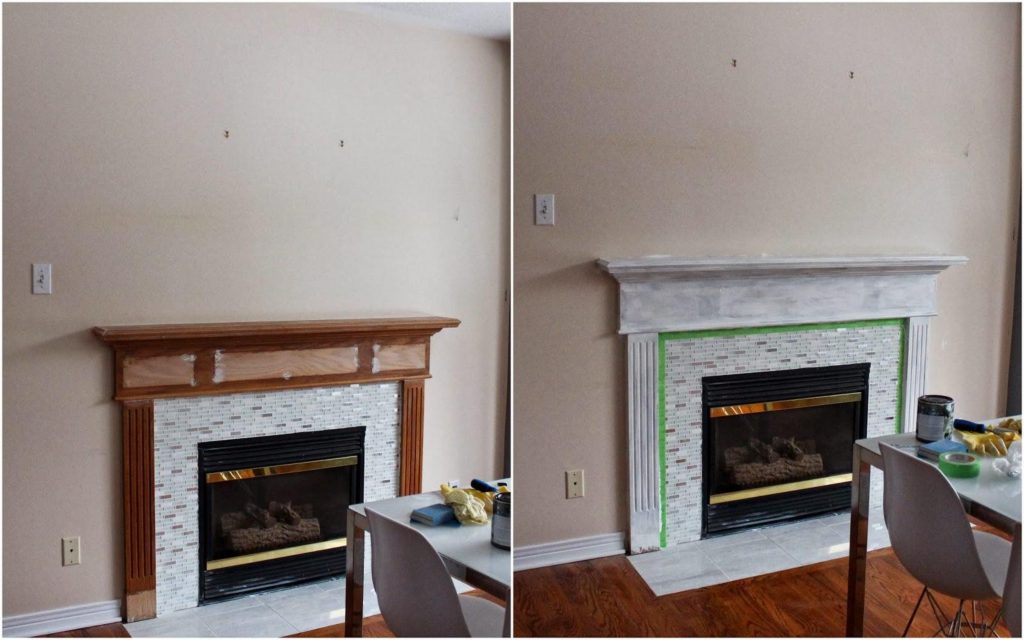 |
| Before and 2 coasts down |
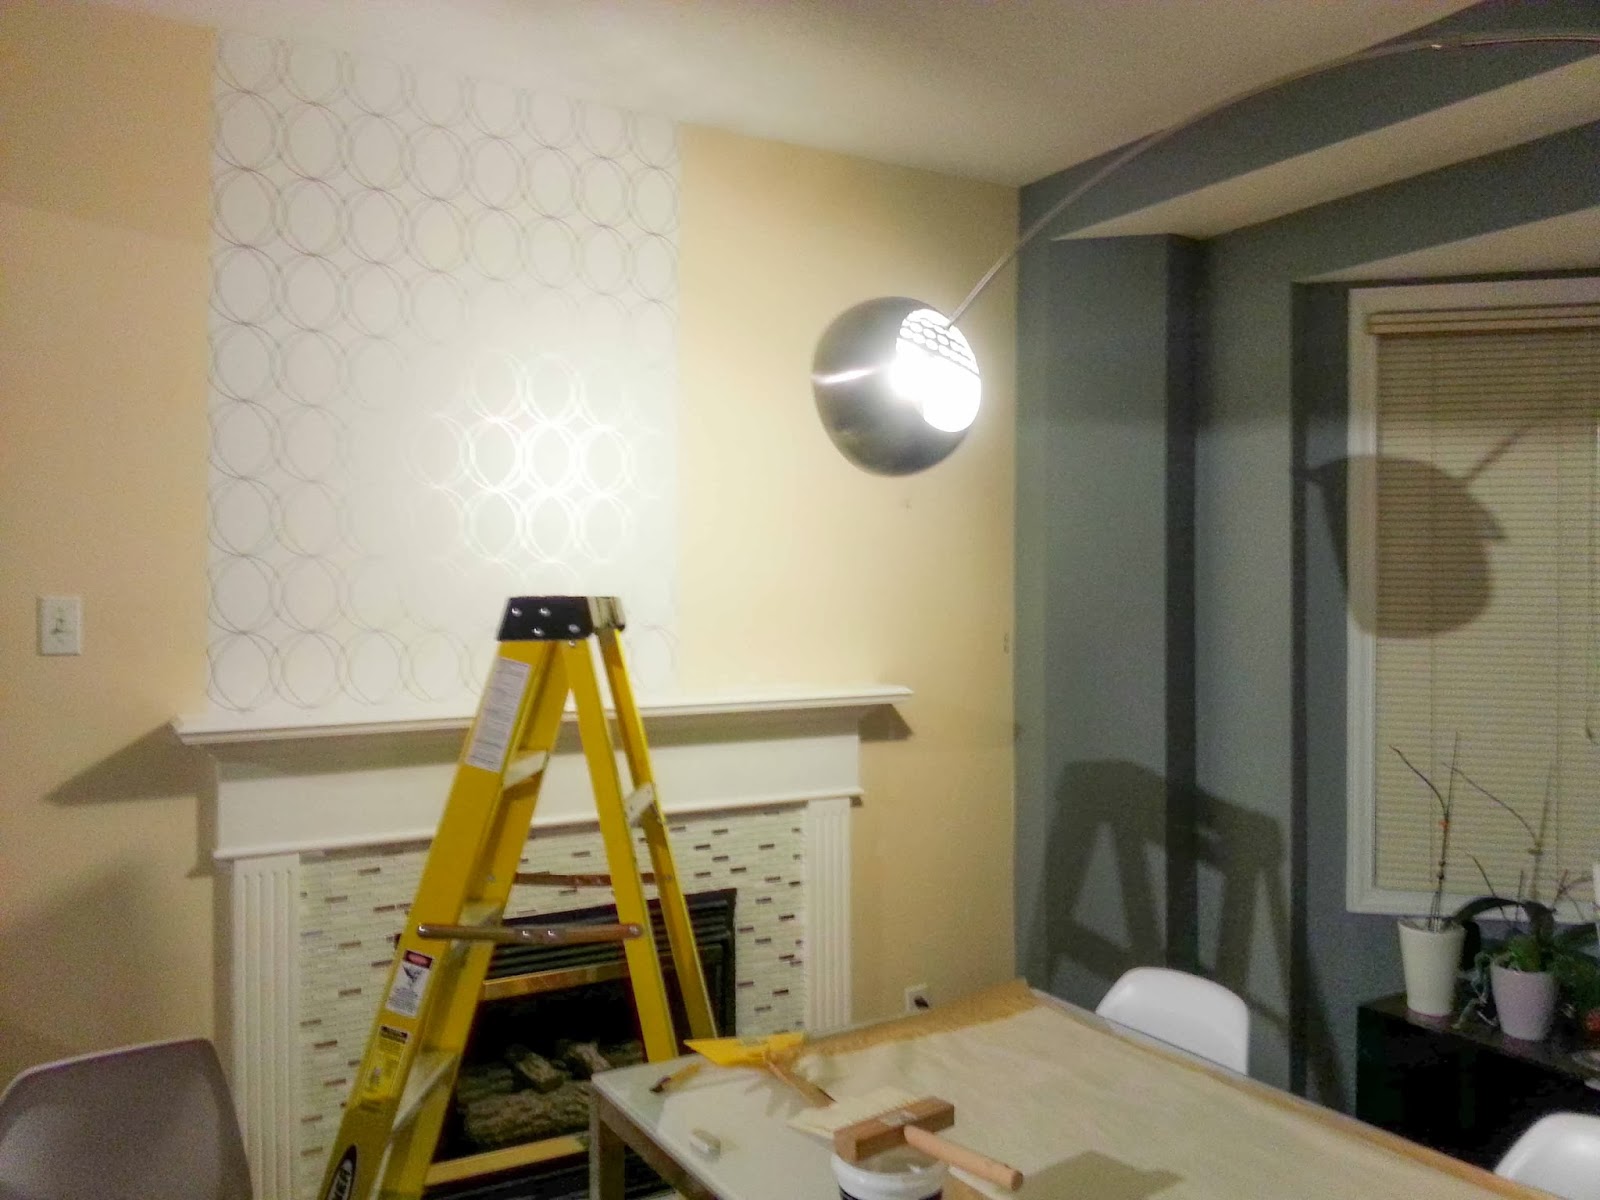
Almost in the end, the wallpaper. This was another long story, lots of searches and options. I ended up choosing this white and silver non-pasted wallpaper that I had to order without seeing a sample of it. When it arrived, gladly I saw I had made the right choice for what I was envisioning.
For the wallpaper application, we had to purchased the glue and a smoother (very important) and the real challenge was to make sure the pattern was aligned and consistent throughout the wall (and doing that at night with low light available…).
And finally, spraying the fireplace. I purchased a regular paint spray, in satin black, to refinish the tired metal on the fireplace front. It took some work on covering all the adjacent floor, wall tiles and glass, but it gave another life to the existing fireplace.
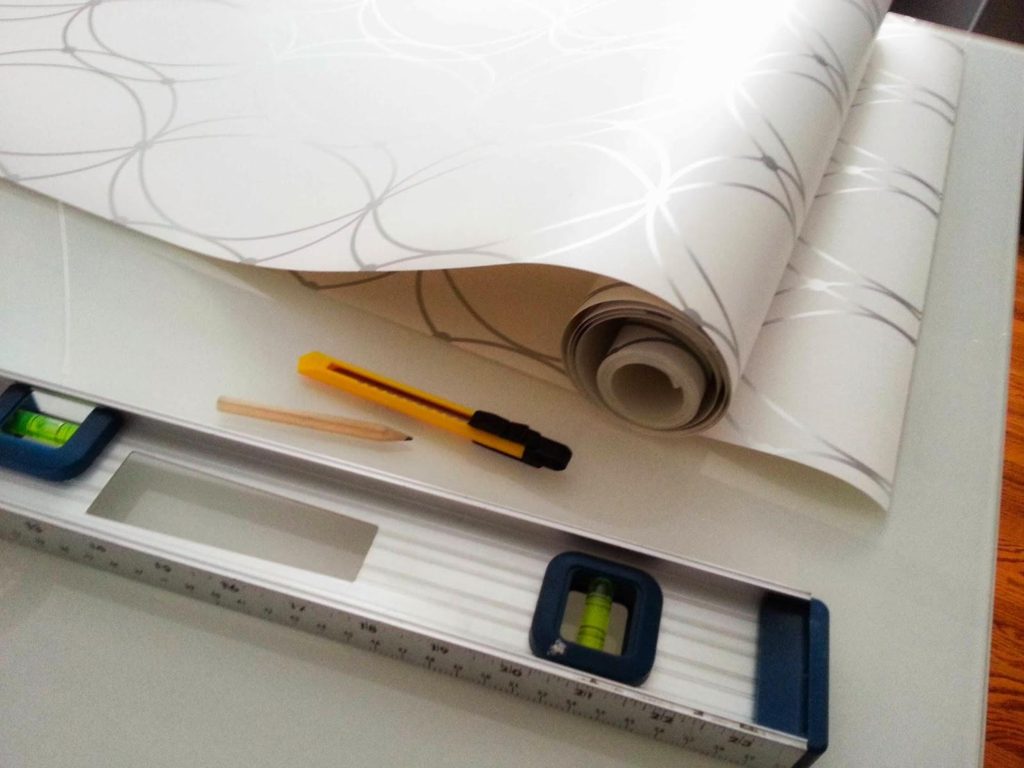 |
| Cutting the wallpaper requires some attention – you need extra for pattern alignment. |
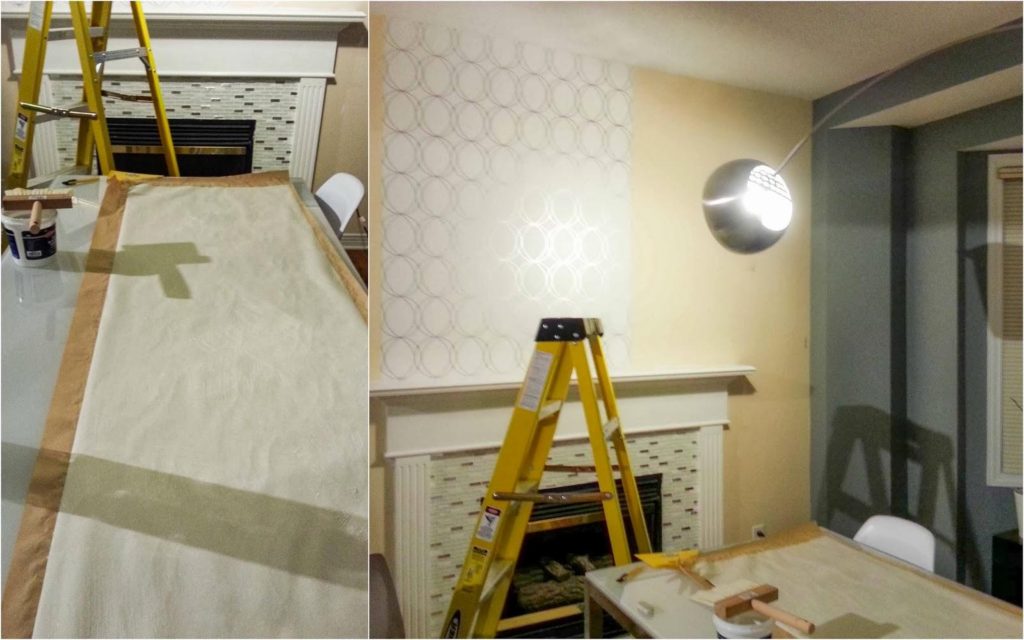 |
| Pasting the paper and not the wall (in this case) |
 |
| Preparing for the paint spray – with my special helper. |
Stay tunned this week for the final transformation and the before and after photos. I can't wait!
*If you have any questions about the process, tools etc, just let me know through the comment box, ok?! Thx


