
Square wall panels

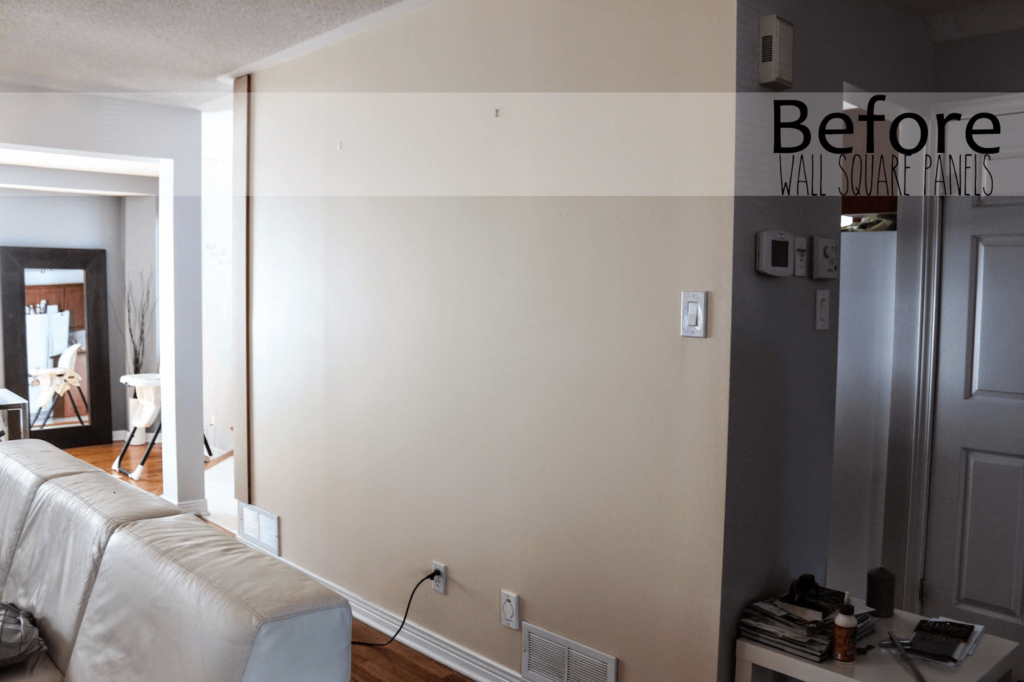
One of our first projects of the season is finally here to be shared. This accent wall in our living room was planned since we finished the dining room/fireplace makeover, and I couldn’t wait to get my hands on it, since that wall behind the sofa was the last beige wall on the main floor and it was hurting our eyes..rsrsrs
I didn’t want to just paint in another colour and put a picture frame on it. Nothing wrong with that, but that wall was asking for something more special.
I can’t remember where I got the square panels idea from, but one afternoon, Alice and I took a trip to the big hardware store and it all started. The size of squares will depend on the look you want and length of wall you have. I tried to divide equally, starting from corners, which ended up with 6″ strips with about 20″ in between.
Here’s the list of main materials and tools, and details about the process:
– 1/2″ MDF BOARD (I ended up using 5/8″ MDF board, because that’s what they had available at the store. They also had 1/4″ board, but I thought at that time, that it wouldn’t give the depth effect that I wanted. I got 2 board (48″x96″) and had them cut in store (for free) in 6″ long strips (6″x96″). I had to load them all by myself in the car, but I count that as a good arm and waist workout, right?!
– WOOD GLUE – It could also be heavy duty construction glue, since the 58″ thick strips were quite dense. We preferred placing the long strips vertically, so the the horizontal lines would be shorter pieces and therefore, easier to attach and hold in place.
– STAPLER/NAILER – We used a manual version like this one and it wasn’t that great. The nails were a bit too short and not powerful enough. We ended up nailing manually almost all the boards. Not that fun, but we wanted to be sure it would hold up.
– MITRE SAW – We are currently using one that belongs to a friend, just like this one. It makes the 90º cuts (and other angles) on the long 96″ strips to fit in between the vertical elements. Love that machine so far.
You could use a manual saw to cut, but I’m afraid it wouldn’t look that smooth on the edges.
– SANDING – We used 80 and 120 grid sandpaper to sand the MDF (surface and edges)
– DRYWALL COMPOUND – We used this to fill the joints on the MDF. Not sure if it’s the best product to do that, but it worked and we already had it at home.
– PAINT – We used a regular no-VOC white paint (Eggshell finish) to do the whole wall and the MDF elements. Seeing now, I think we should have used a primer and maybe a oil based (satin finish) on the MDF elements and just use the regular paint for the centre of the squares, where the wall is. It took 3 or 4 coats (I can’t remember for sure) to cover perfectly.
Other than the paint itself, we used regular angled brush and a small roller.
– CAULKING – We used regular interior caulking and the gun applicator to fill the gaps between MDF strips and the wall. It looked so much better after we finished this step, so it’s highly recommended.
 |
| The first step – we placed the first vertical MDF strip – it sits on the baseboard for better support |
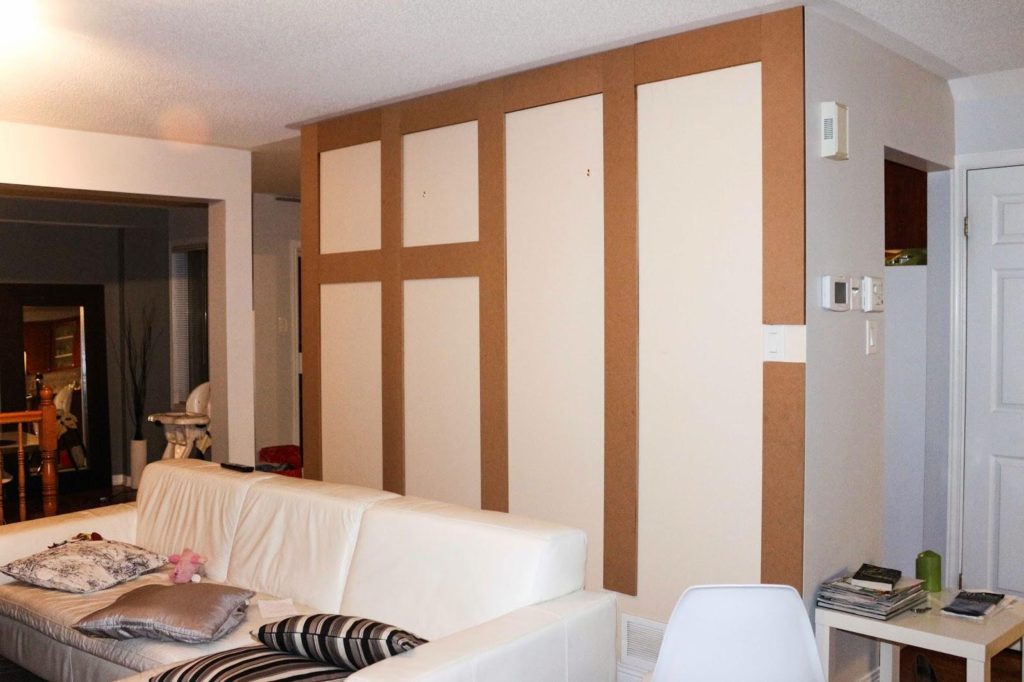 |
| All vertical elements in – now we do the horizontal ones in between. Be sure to measure and level every element. |
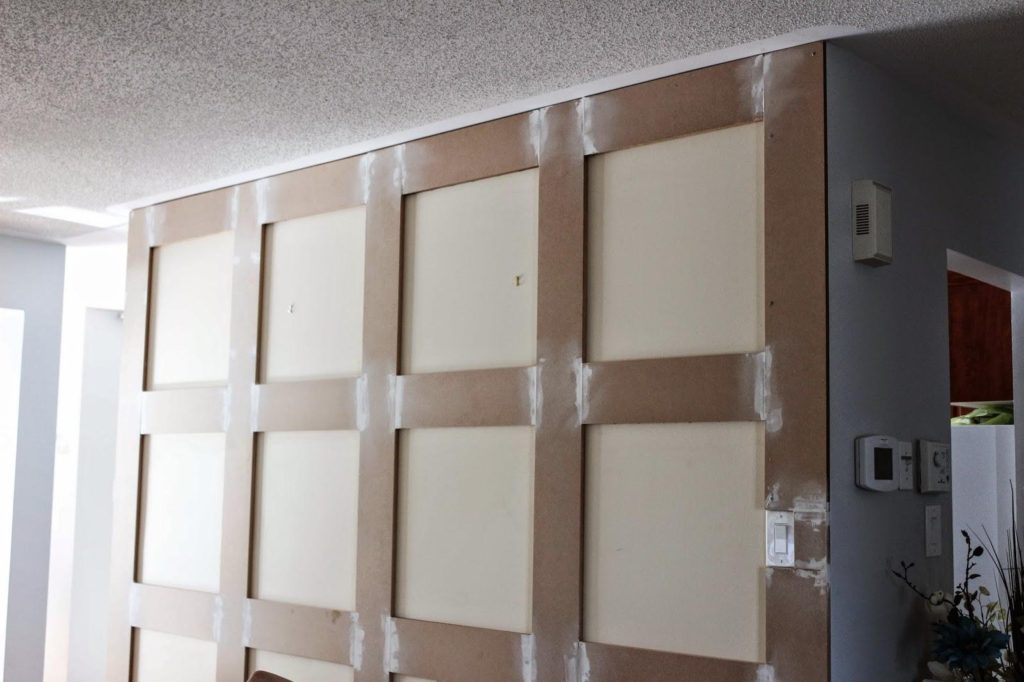 |
| Sanding done – We used the drywall compound to fill the joints. |
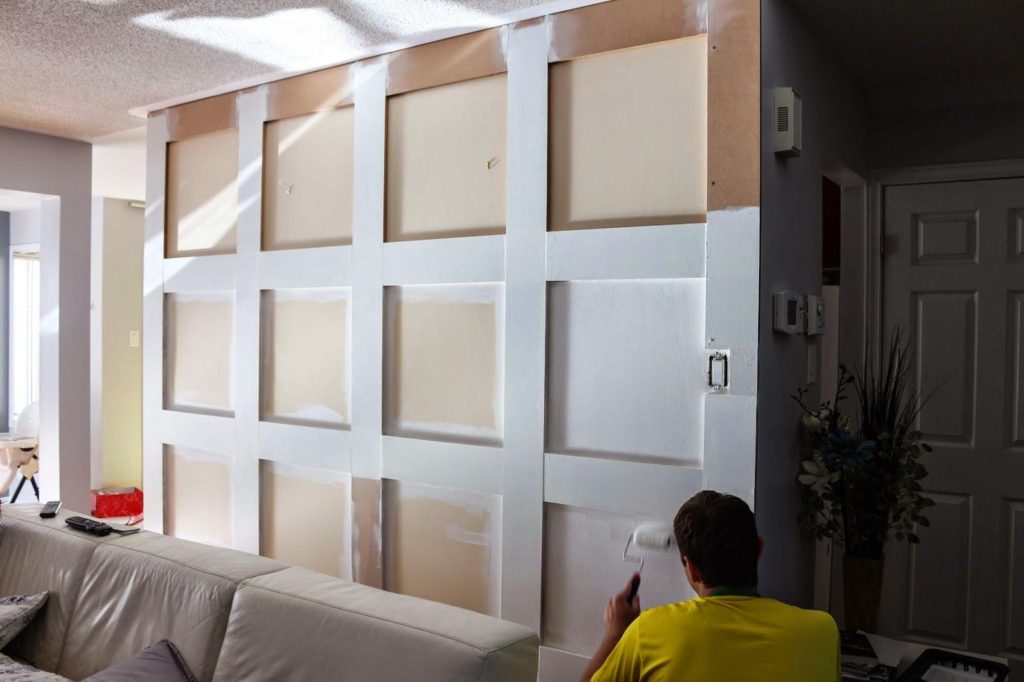 |
| Let the painting begin! |
 |
| The final result with a yogurt drinker in scene… |
My biggest doubt now is whether of not to have a piece of art, a picture frame or nothing on the new featured wall over the couch. I’m not sure yet, so blank it is (for now). More pictures of our living room to come, when we update the light fixture in the near future.
If you have any questions about the process, please leave us a comment on the this post of through Facebook. We’d be glad to help.


2 Comments
Beatriz Jungues
Parabéns! Ficou lindo! bjao
Anônimo
Oi Adriane, estou adorando os posts das transformacoes na casa. Acabamos de mudar e estou procurando ideias para nossa casa. Continue postando …estou adorando e "roubando" as ideias.
Ficou lindo!
Bjs
Dani